


Learn and master Clay with Clay university
Featured in Clay University
Push Data To Your Email Sequencer
📧 Pushing Data from Clay to Your Email Sequencing Tool: A Seamless Integration
Note: this lesson also appears in Clay 101 so feel free to skim or skip if you've already seen it somewhere else
In the world of modern sales and marketing, the ability to seamlessly push data from your enrichment platform to your email sequencing tool is crucial. At Clay, we've made this process intuitive and flexible, allowing you to integrate with a wide range of popular tools such as Instantly, SmartLead, Outreach.io, SalesLoft, and LemList. In this guide, we'll walk you through the process using Instantly as an example, but remember, the logic is easily replicable across other platforms.
🔄 From HubSpot to Clay: Preparing Your Data
Let's set the stage. You've pulled a list of contacts from HubSpot into Clay, updated their email addresses to ensure accuracy, and pushed this information back to HubSpot. Now, you're ready to reach out to these contacts with some carefully crafted copy. While we always advocate for high-quality, personalized messaging, for demonstration purposes, we'll use a simplified approach that mirrors a common strategy: using AI-generated snippets to create email bodies and custom variables for subject lines.
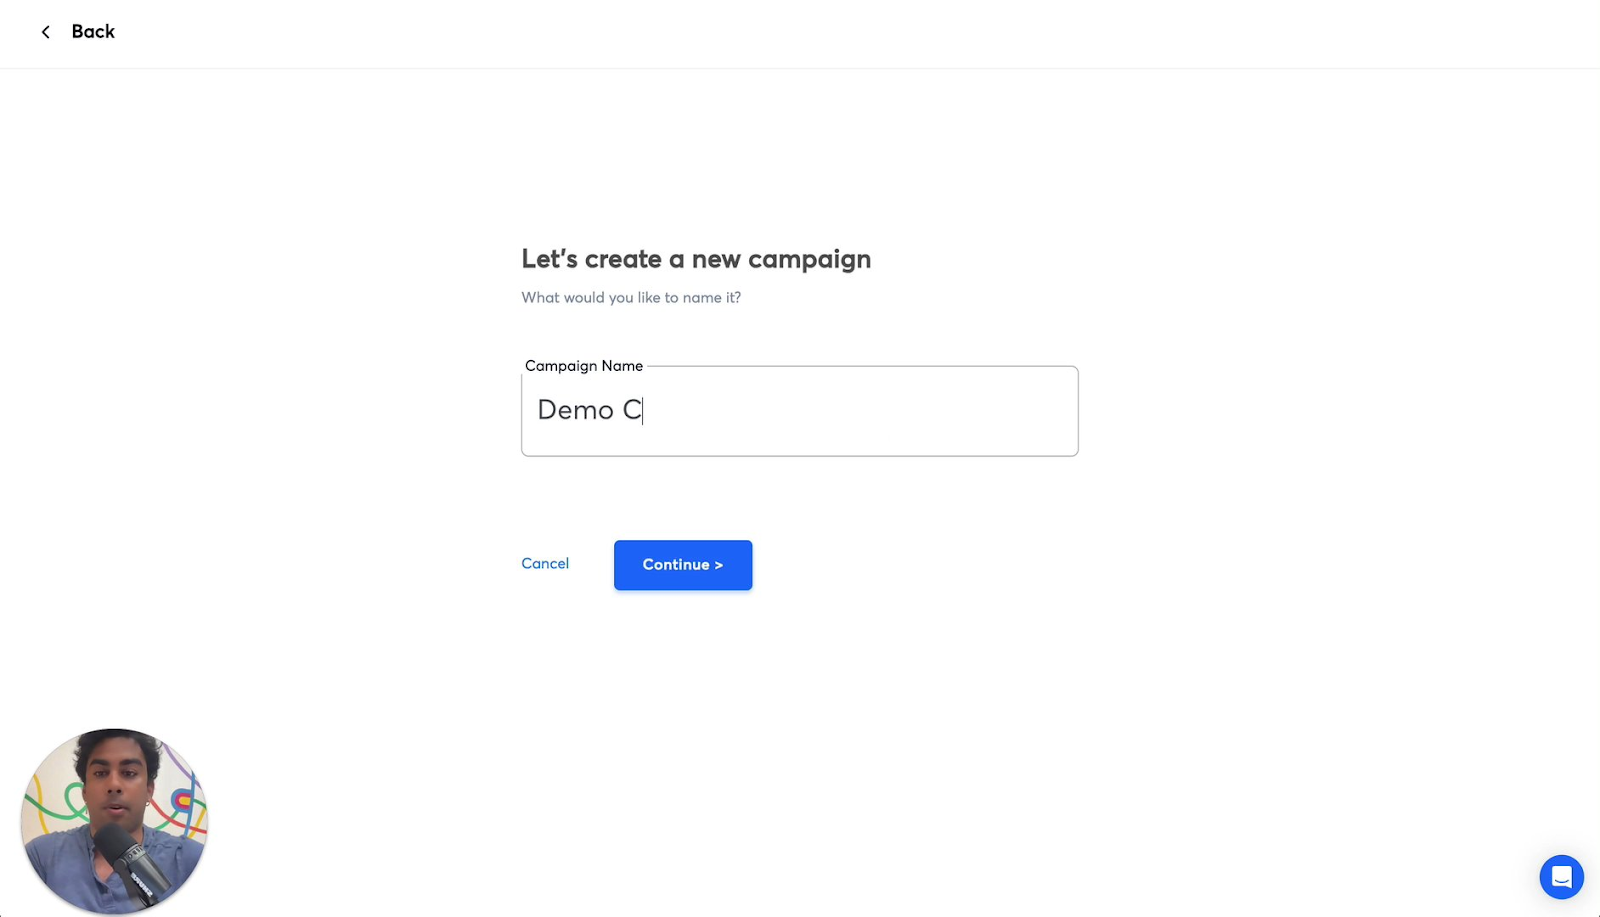
🎯 Creating Your Campaign in Instantly
The first step in our process is to set up a new campaign in your sequencing tool. In Instantly, this is as simple as navigating to the Campaigns section and clicking "Add New." We'll name our campaign "Demo Campaign" for this example. At this point, you'll notice that your newly created campaign is empty, eagerly awaiting the leads you're about to add.
🔗 Bridging Clay and Instantly: The Enrichment Step
Now comes the exciting part - connecting Clay to Instantly. Back in your Clay workspace, you'll want to add an Instantly enrichment to your table. This enrichment will be configured to add leads to your newly created campaign.
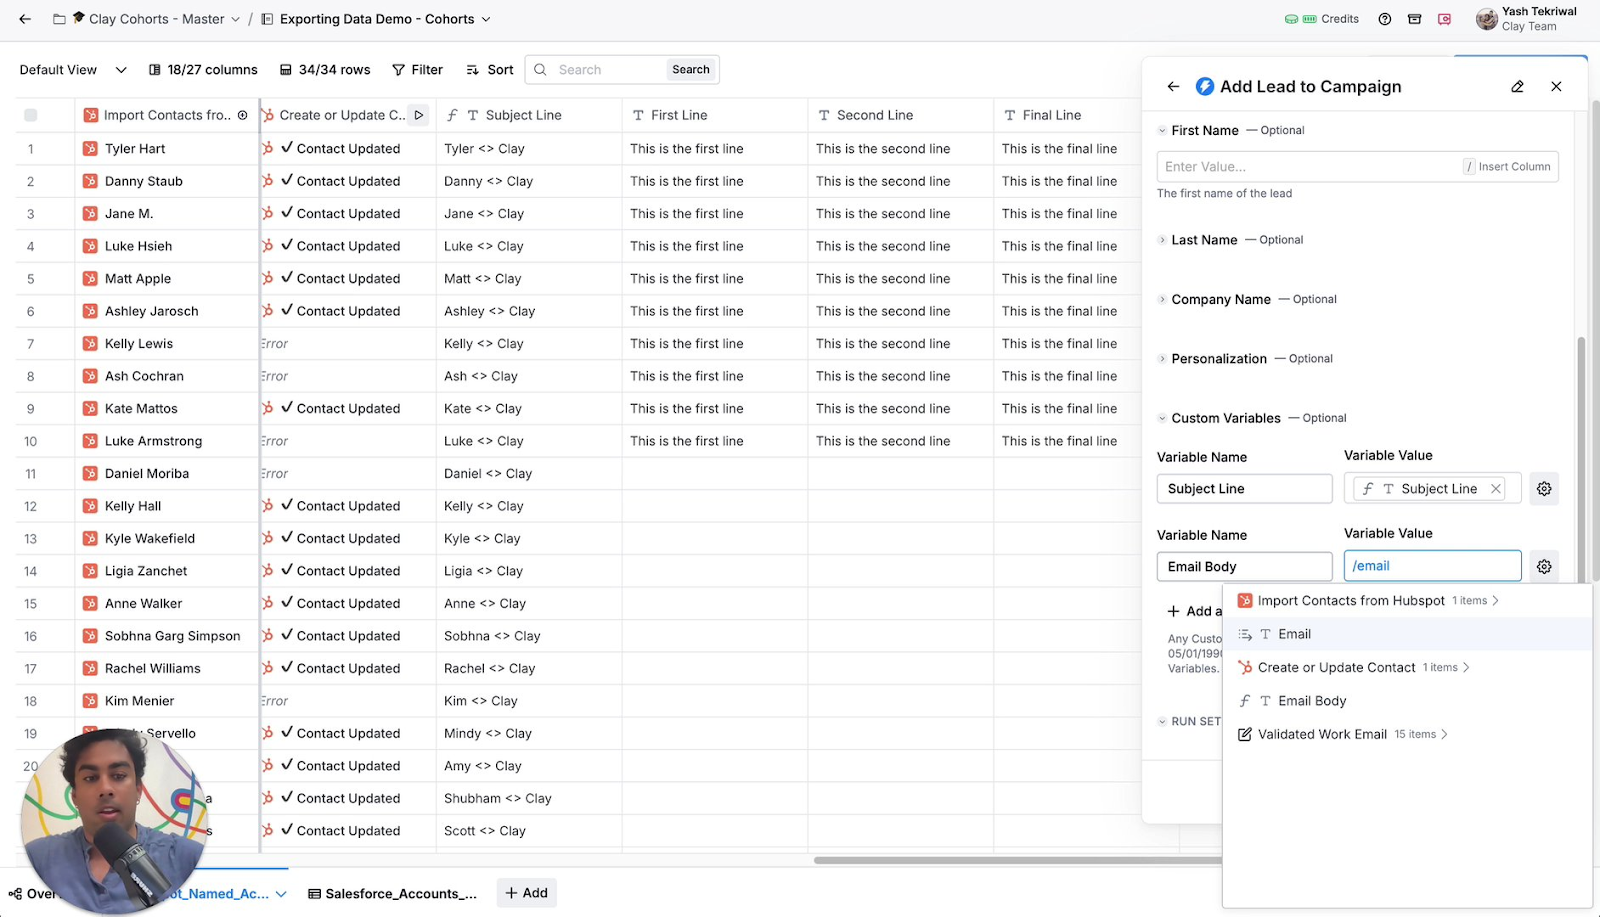
In the enrichment settings, you'll select your "Demo Campaign" and set up the necessary fields. At a minimum, you'll want to include the lead's email address. For a more comprehensive approach, consider adding first name, last name, and any other relevant details.
The real magic happens when you add custom variables. In our example, we're including "subject line" and "email body" as custom fields. These will be populated from the corresponding columns in your Clay table, allowing for personalized content for each lead.
⚠️ Troubleshooting Tip: If you encounter a "missing input" error, double-check that you're using the correct column names from your Clay table. In our case, we needed to use the "validated work email" column instead of a generic "email" column.
🚀 Launching Your Campaign
Once you've set up your enrichment correctly and run it on your Clay table, it's time to head back to Instantly. Refresh your campaign page, and voila! You should see your leads populated with their personalized subject lines and email bodies, ready for outreach.

🔍 Fine-tuning Your Sequence
For those looking to take their personalization to the next level, consider adding more custom variables to your API call. You could include separate fields for each step of your sequence - "email body one," "subject line one," "email body two," "subject line two," and so on. This approach allows you to craft a highly personalized, multi-step sequence for each lead.
By mastering this integration between Clay and your email sequencing tool, you're setting yourself up for more efficient, personalized, and effective outreach campaigns. Remember, the key to success lies not just in the technology, but in the quality and relevance of your messaging. Use these tools to enhance your human touch, not replace it.
Happy sequencing!