


Integration Overview
With Reply.io within Clay, you can export your data to run personalized email campaigns, send cold emails, and automate follow ups. In this guide we’ll go over:
- Setting up Reply.io and Clay
- Actions you for Reply.io you can run within Clay
Requirements for Setting up Reply.io and Clay
You will need two prepare two steps in advance to set up Reply.io and Clay integration
Requirement #1: Add your Reply.io API key to Clay
You will first need to obtain the Reply.io API key, which you can copy from your Reply.io from Settings > API Key.
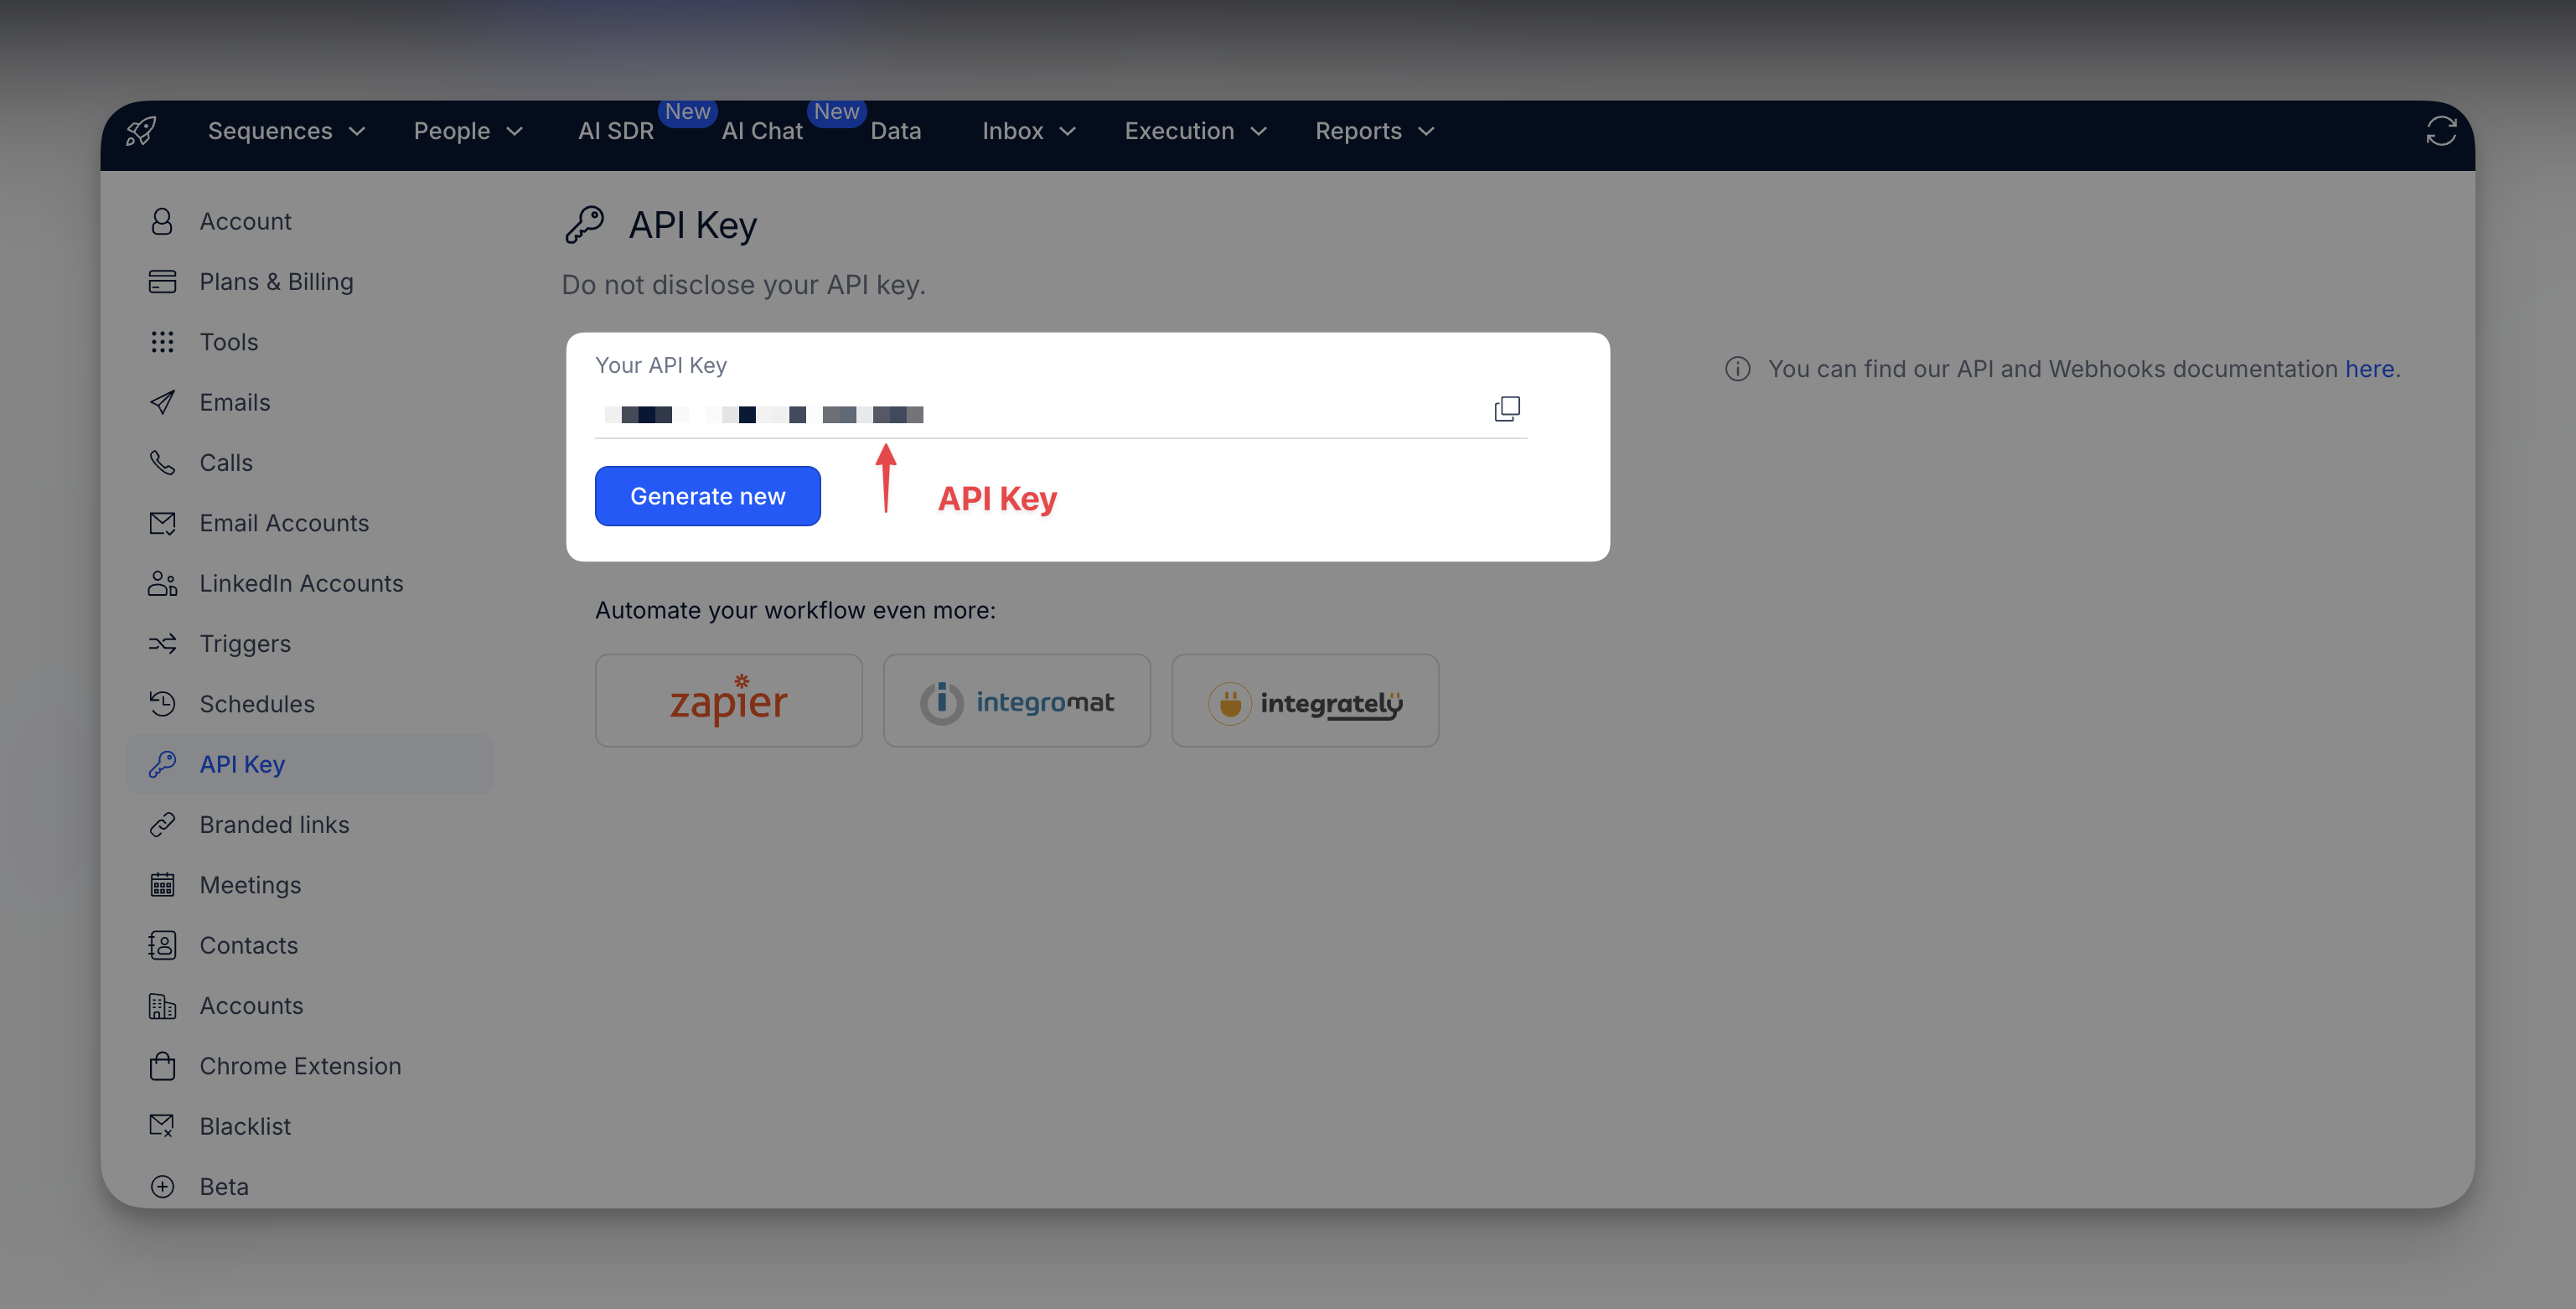
Then upload your key within Settings > Connections or via any Reply.io integration panel.
Requirement #2: Have an existing campaign you are adding leads to
To use To use this feature, make sure you have an active campaign set up in Reply.io. Clay can add contacts to existing campaigns but cannot create campaigns directly.
Available actions for Reply.io within Clay
Action Push Contact to Campaign
Use this action to add an existing contact to a campaign (sequence) in Reply.io. Contacts will only be added if they are not currently active in another campaign.
Setup Inputs
- Campaign ID: Choose the campaign (sequence) to add the contact to. If no options appear, try refreshing the fields to load available campaigns.
- Email Address: Enter or select the column with the contact’s email address for inclusion in the campaign.
Note that other setup inputs may appear based on the specific fields within the selected campaign. These fields allow for further customization, such as adding relevant tags or attributes to the contact in your campaign.
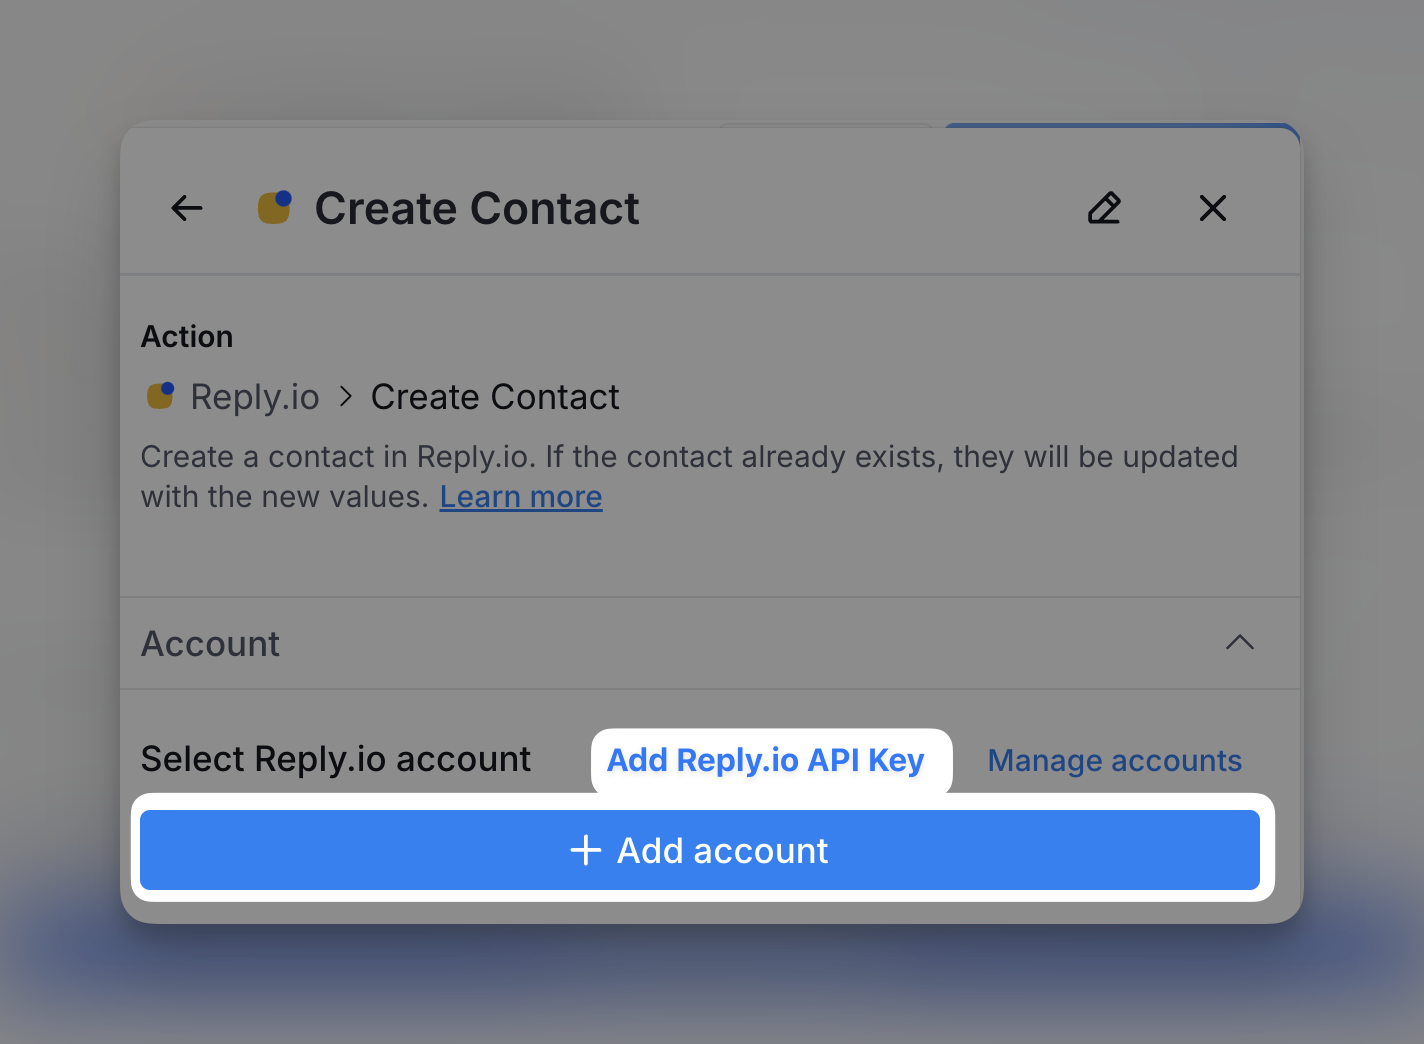
Action Create Contact
Use this action to create a new contact in Reply.io. If the contact already exists, the information will be updated with the latest values provided.
Setup Inputs:
- Email address: Enter or select the contact’s email address. This is required.
- First name: Provide the contact’s first name.
- Last name (Optional): The last name of the contact.
- Other contact infomration including City, State, LinkedIn URL
- Custom fields (Optional): Any additional custom fields to set for the contact. Only fields that have been defined in your Reply.io account will be updated.
Explore other docs
Other popular resources
Join a cohort, learn Clay fast!
The faster way to master Clay. Sign in if you're enrolled in a cohort (current or past) or apply!
Hire GTME Talent
Find and connect with GTM talent who've demonstrated expertise in building advanced workflows